Showing posts with label DIY. Show all posts

DIY Large Framed Chalkboard

I finally have a wedding post for you!  And it's a DIY post as well.  Yes!

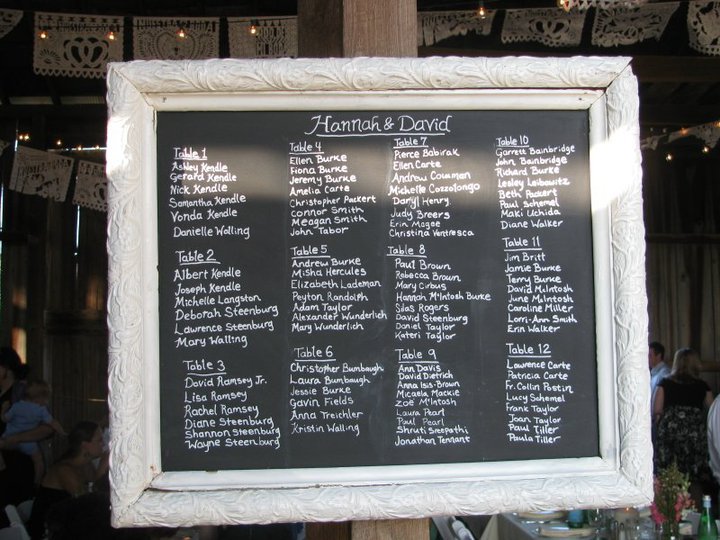
I wanted to display our table arrangements on a large chalkboard, like the example shown below. 
(source)
As you may or may not know, large chalkboards that are framed are quite expensive.  So I figured I would just make one myself.  We bought an ugly mirror, and turned it into a goregous chalkboard with a white frame!


Supplies
1 large mirror- we got ours at Marshall's for $20.  You could just find a cheap frame as well on Craigslist.  But mirrors are often times easier to find, and you can just go to your local discount home goods store and buy a cheap one.
Chalkboard spray paint- Found at Jo-Ann's. Only $5 if you use a coupon.
White spray paint- We got a matte white spray paint at Lowe's for about $6
Masking Tape
Garbage bags

Total Project Cost= $31 (but we've been using the chalkboard spray paint for other projects as well...more bang for your buck!)

Directions
1. We decided to spay the chalkboard area first.  Tear garbage bags at the seams to make them easier to work with.  Tape the garbage bags onto the frame.  Make sure you tape it right at the edge so you don't cover any of the mirror, but also so you don't get any chalkboard paint onto the frame.


2. Spray 2 coats of the chalkboard spray paint onto the mirror.  Letting it dry between coats.


3. Following the directions on the can, take chalk and rub it on it's side all over the chalkboard and then wipe it with a cloth to give it that chalkboard look.

4. Tape garbage bags onto the chalkboard section now, making sure to go right up the edge so that no white paint will get onto the chalkboard.


5. Spray paint the frame.  Because our frame was a bronze color, we had to do 4 coats to get it completely white.

And voila!  You now have a beautiful large chalkboard with a crisp white frame ready for table placements!


DIY: Save the Date

I thought it would be fun to do a post about our Save the Dates.  As many of you know, we don't have a large wedding budget.  Save the Dates really aren't even necessary since most of our guests are in town.  But I love them!  I just think they are so adorable.

I threw around a bunch of different ideas for the Save the Dates.  One thing I was certain about: I knew I wanted it to be a postcard.  Simply because you can order 100 postcards from Staples for less than $50, and of course, postcards are cheaper to mail. 

Since we are incorporating a bunch of chalkboard elements into our wedding, I googled "chalkboard save the dates".  That is when I found this beautiful image:
(Daniel Photography)
Not only is it adorable, it would be super easy!  I bought a wood board from Michael's, chalkboard spray paint from Jo-Ann's, and chalk from Target.  I just sprayed the board following the directions on the spray can bottle.  My matron of honor, Brittany, wrote on the sign for me since her handwriting is much better than mine.  And I added the cute little heart in the zero.
Next, we all went on a hike on some trails in San Diego in the late afternoon to get the best light.  Climbing through brush, onto rocks, and hiking up hills is quite...interesting when you're wearing heels.
We tried a few adventurous shots (see me running across the street below to avoid being hit by a car) and some cute, natural ones.  We ended up with hundreds of photos, but most of them Matt and I are making goofy faces.  We're not very photogenic people to begin with, and we make each other laugh too easily.  But it made for quite an entertaining afternoon.
We ended up with about 8 really good shots that we had to narrow down.  I emailed out our top picks to our bridal party and our parents, and the decision was pretty unanimous on which picture we had to use.  Then I designed the back of the post card on Microsoft Word using free fonts from dafont.com, saved it as a PDF, and submitted it to the Staples website.  And Voila!  You have an adorable Save the Dates ready to be mailed out.  I told you it was easy!